

What's the Best Time of Day for a Photoshoot?
Oh hello! Welcome back to my blog. I missed a few Sundays because of life things, but things are calming down, so I’m back on the posts! This week, we’re talking about light and when the best time to shoot is, based on the vibe and look you want for your photos.
I’m sure we all know about golden hour, blue hour, and bright mid-day light. If you don't know about those or are a little unsure here’s what they are:

Golden Hour
This is the light when the sun first rises and sets past the horizon. With the sun’s position, the light has a gold color to it and is super soft. Soft light has lighter shadows and isn’t as bright or harsh.
Golden hour is most photographers go to time to shoot. The light is beautiful, the shadows are nice and soft which makes it easier to capture multiple beautiful shots. If you're wanting your pictures to have a more warm, romantic feel to them, golden hour is the perfect time for your shoot.

Blue Hour
This is pretty much at dawn and dusk time of the day before the sun rises and after the sun sets. The light that's still shining on the horizon has a more blue tint to it and is also soft.
Blue hour adds a more edgy, dark kinda vibe to the photos. If you’re wanting your photos to look more moody this light is perfect for that. With there not being as much light out, your photographer may need to use a flash or some type of additive light.
Mid-day Light
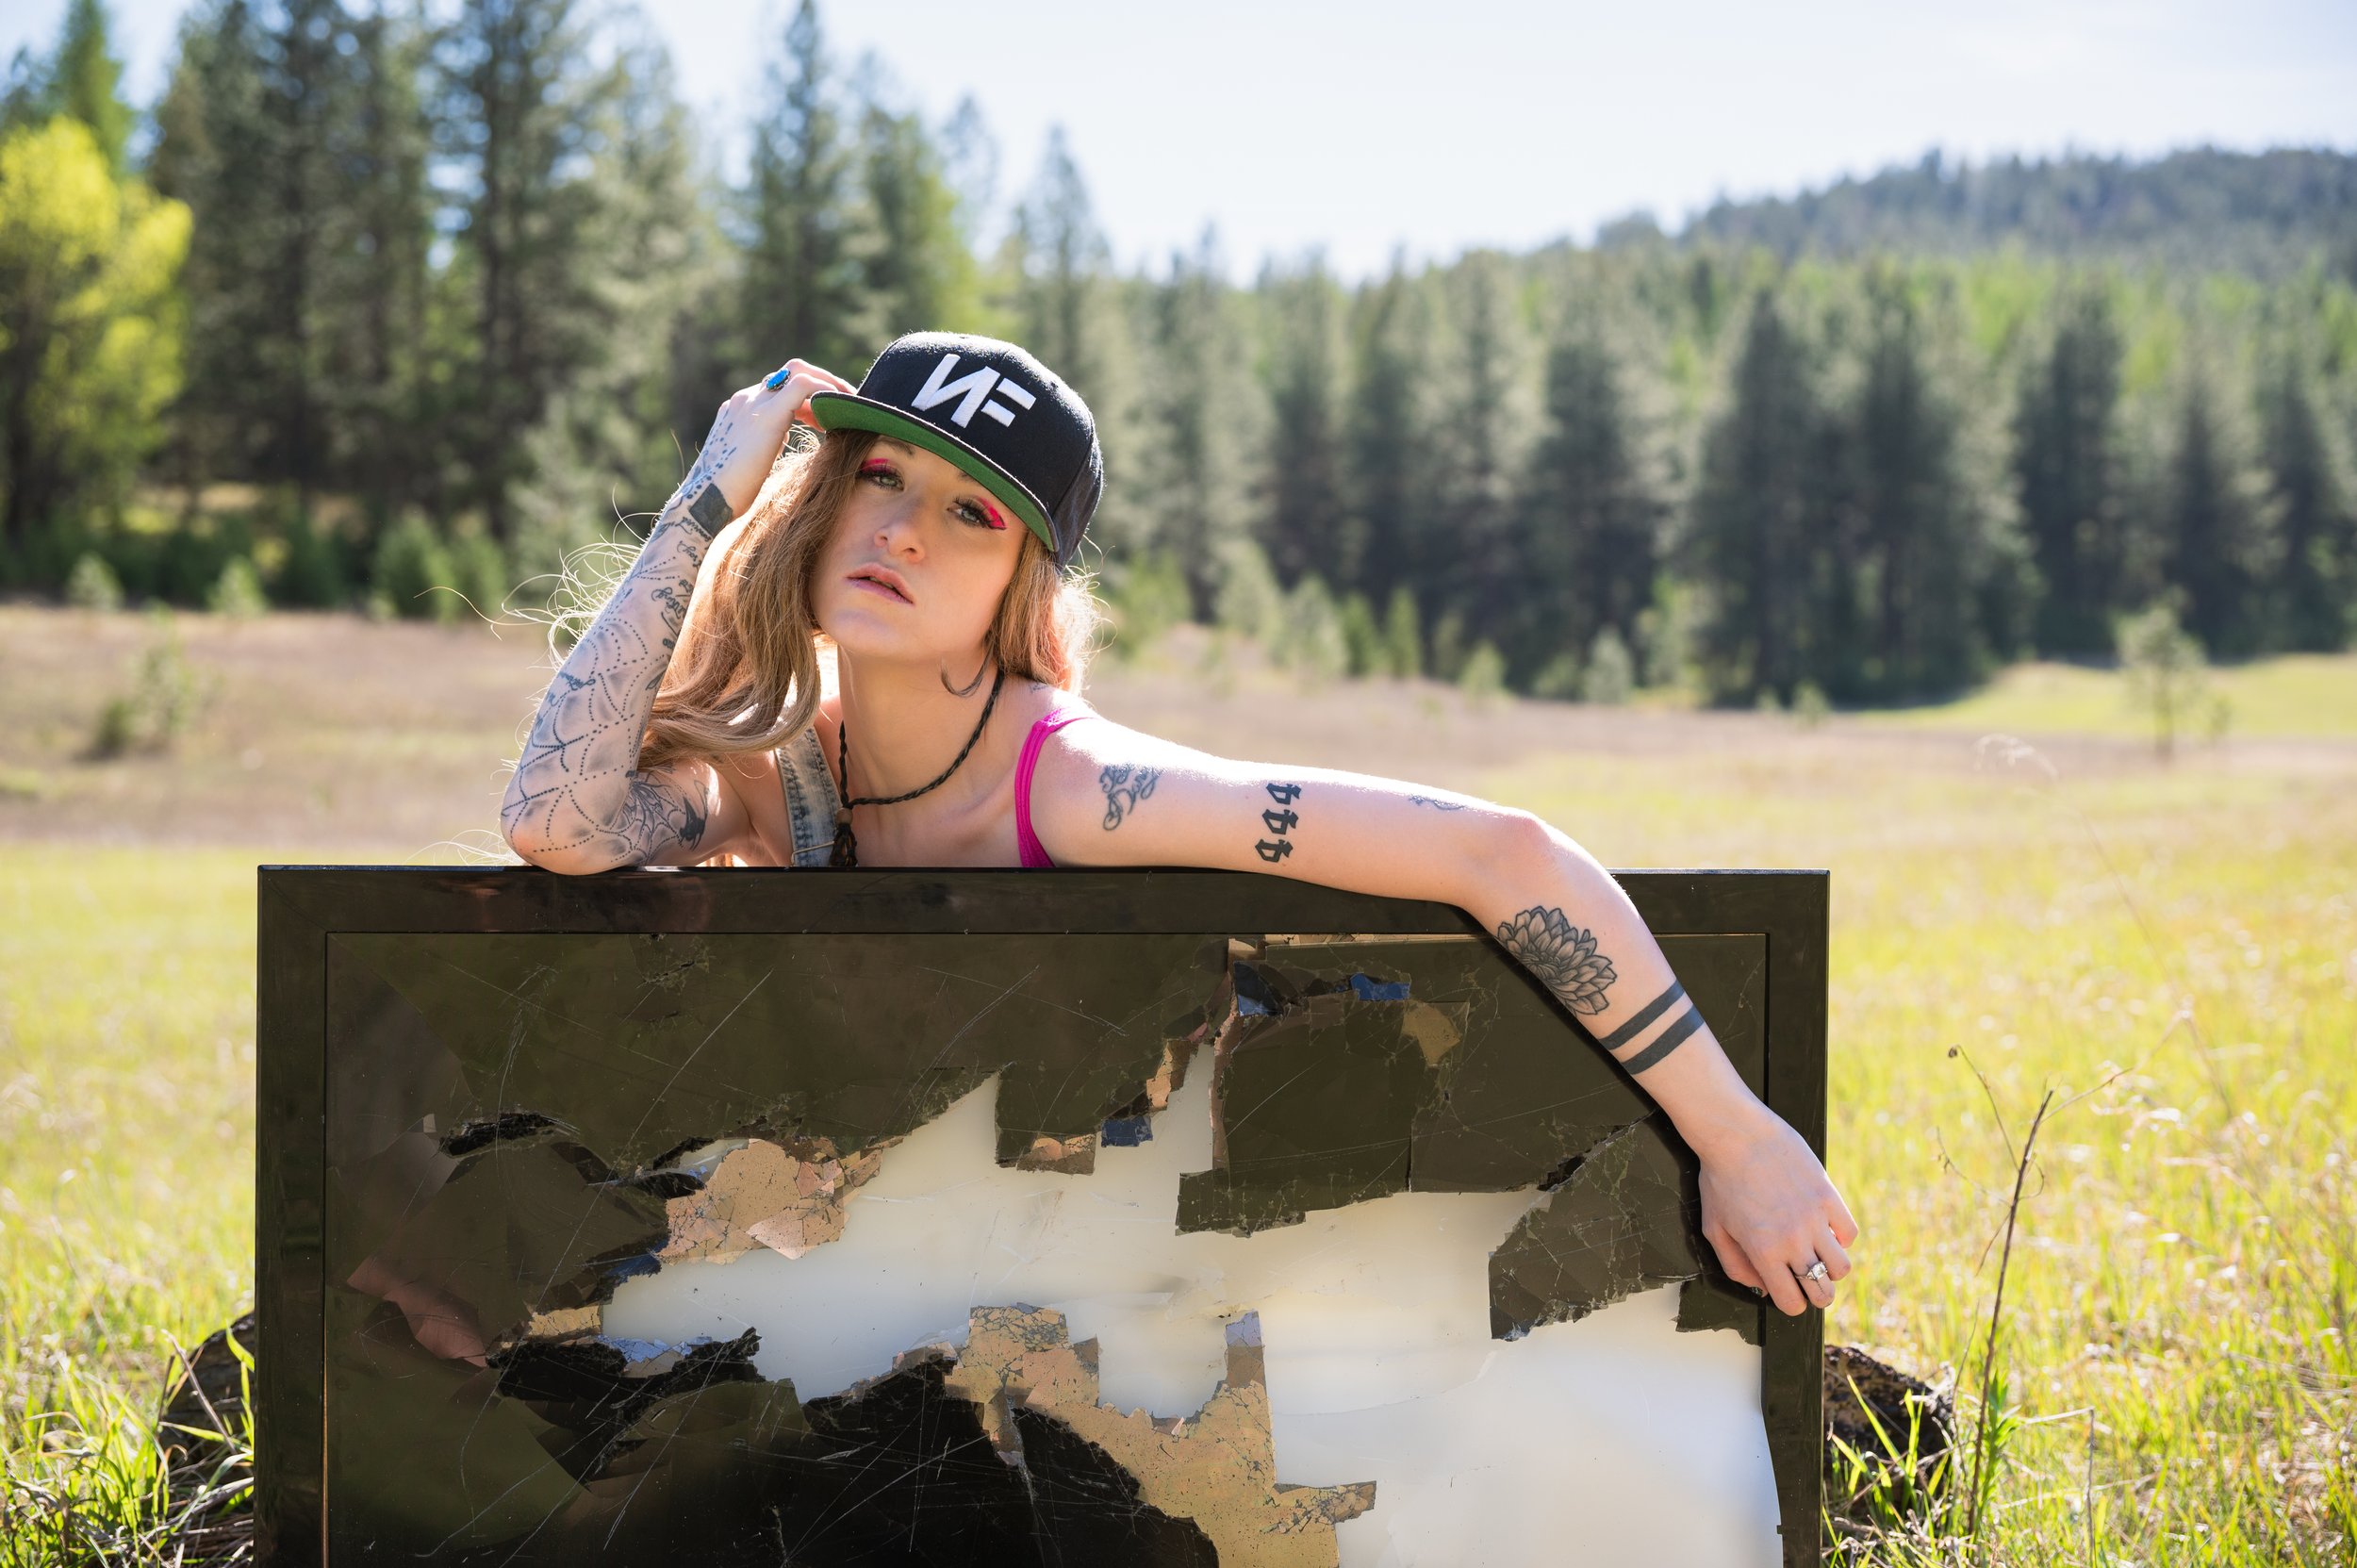
This is when the sun is right above us in the sky casting harsh, bright light causing dark, hard shadows. This type of light is usually happening between 11am-6pm, this does vary based on where you live.
In more recent years, more photographers and people are leaning more towards shooting in the bright light. Back in the day photographers would do all they could to avoid shooting in the harsh light. But if the photographer knows what they’re doing and how to shoot in bright light, your pictures could look amazing in this bright light. Or you can always look for a shady spot on a bright, sunny day.
The time of daylight does vary and depends on where you live and the season you’re in. Here in Montana, during the summer our days are so long, literally we have almost 11-12 hours of daylight. Sunrise is a little before 6am and sunset is around 9:30pm, but during winter time the sun doesn’t rise until 8 or 9am and it sets around 4-5pm. That’s only 8-9 hours of light, which is a wild swing of daylight throughout the year.
When you plan out your next shoot, first think about how you want your photos to look or the vibe you want for them. Pinterest is always a great way to get inspiration for how you want your shoot to look or vibe you’re going for. Let your photographer know what you want and make sure they’re okay with it or can do what you want. If you want to shoot in bright mid-day light, make sure your photographer has the skills to do that and is okay with it. If they aren’t okay with it, find a photographer who can do what you want.
Another thing to check or think about when you’re planning your shoot is what the weather will be like. If you’re schedule only allows you to shoot during the middle of the day and you do not want the bright sunny look for your photos, you can plan you’re shoot on a day when it’s going to be cloudy. Clouds act like a diffuser for the harsh light, making it more soft and even distributed. If you want to do golden hour photos, the sunset is so much prettier when there's clouds in the sky. But not too many clouds that it's overcast because that will hide the sunset.
I hope you found this blog post to be helpful in planning your next shoot!
Spring Flower Petites!
Spring is here! Well, kind of in Montana. The weather here is all over the place. One minute it’s warm and sunny out, the next it's raining, then super fuckin windy and cold. Then before you know it it’s snowing. I know, every state says ‘Just give the weather 5 minutes, it’ll change’, but Montana is really like that.
Even with the weather being all over the place, spring has still sprung! The grass is growing back, the trees and hedges are starting to develop little buds on them. Little flowers are starting to pop up. It’s a magical time of year.

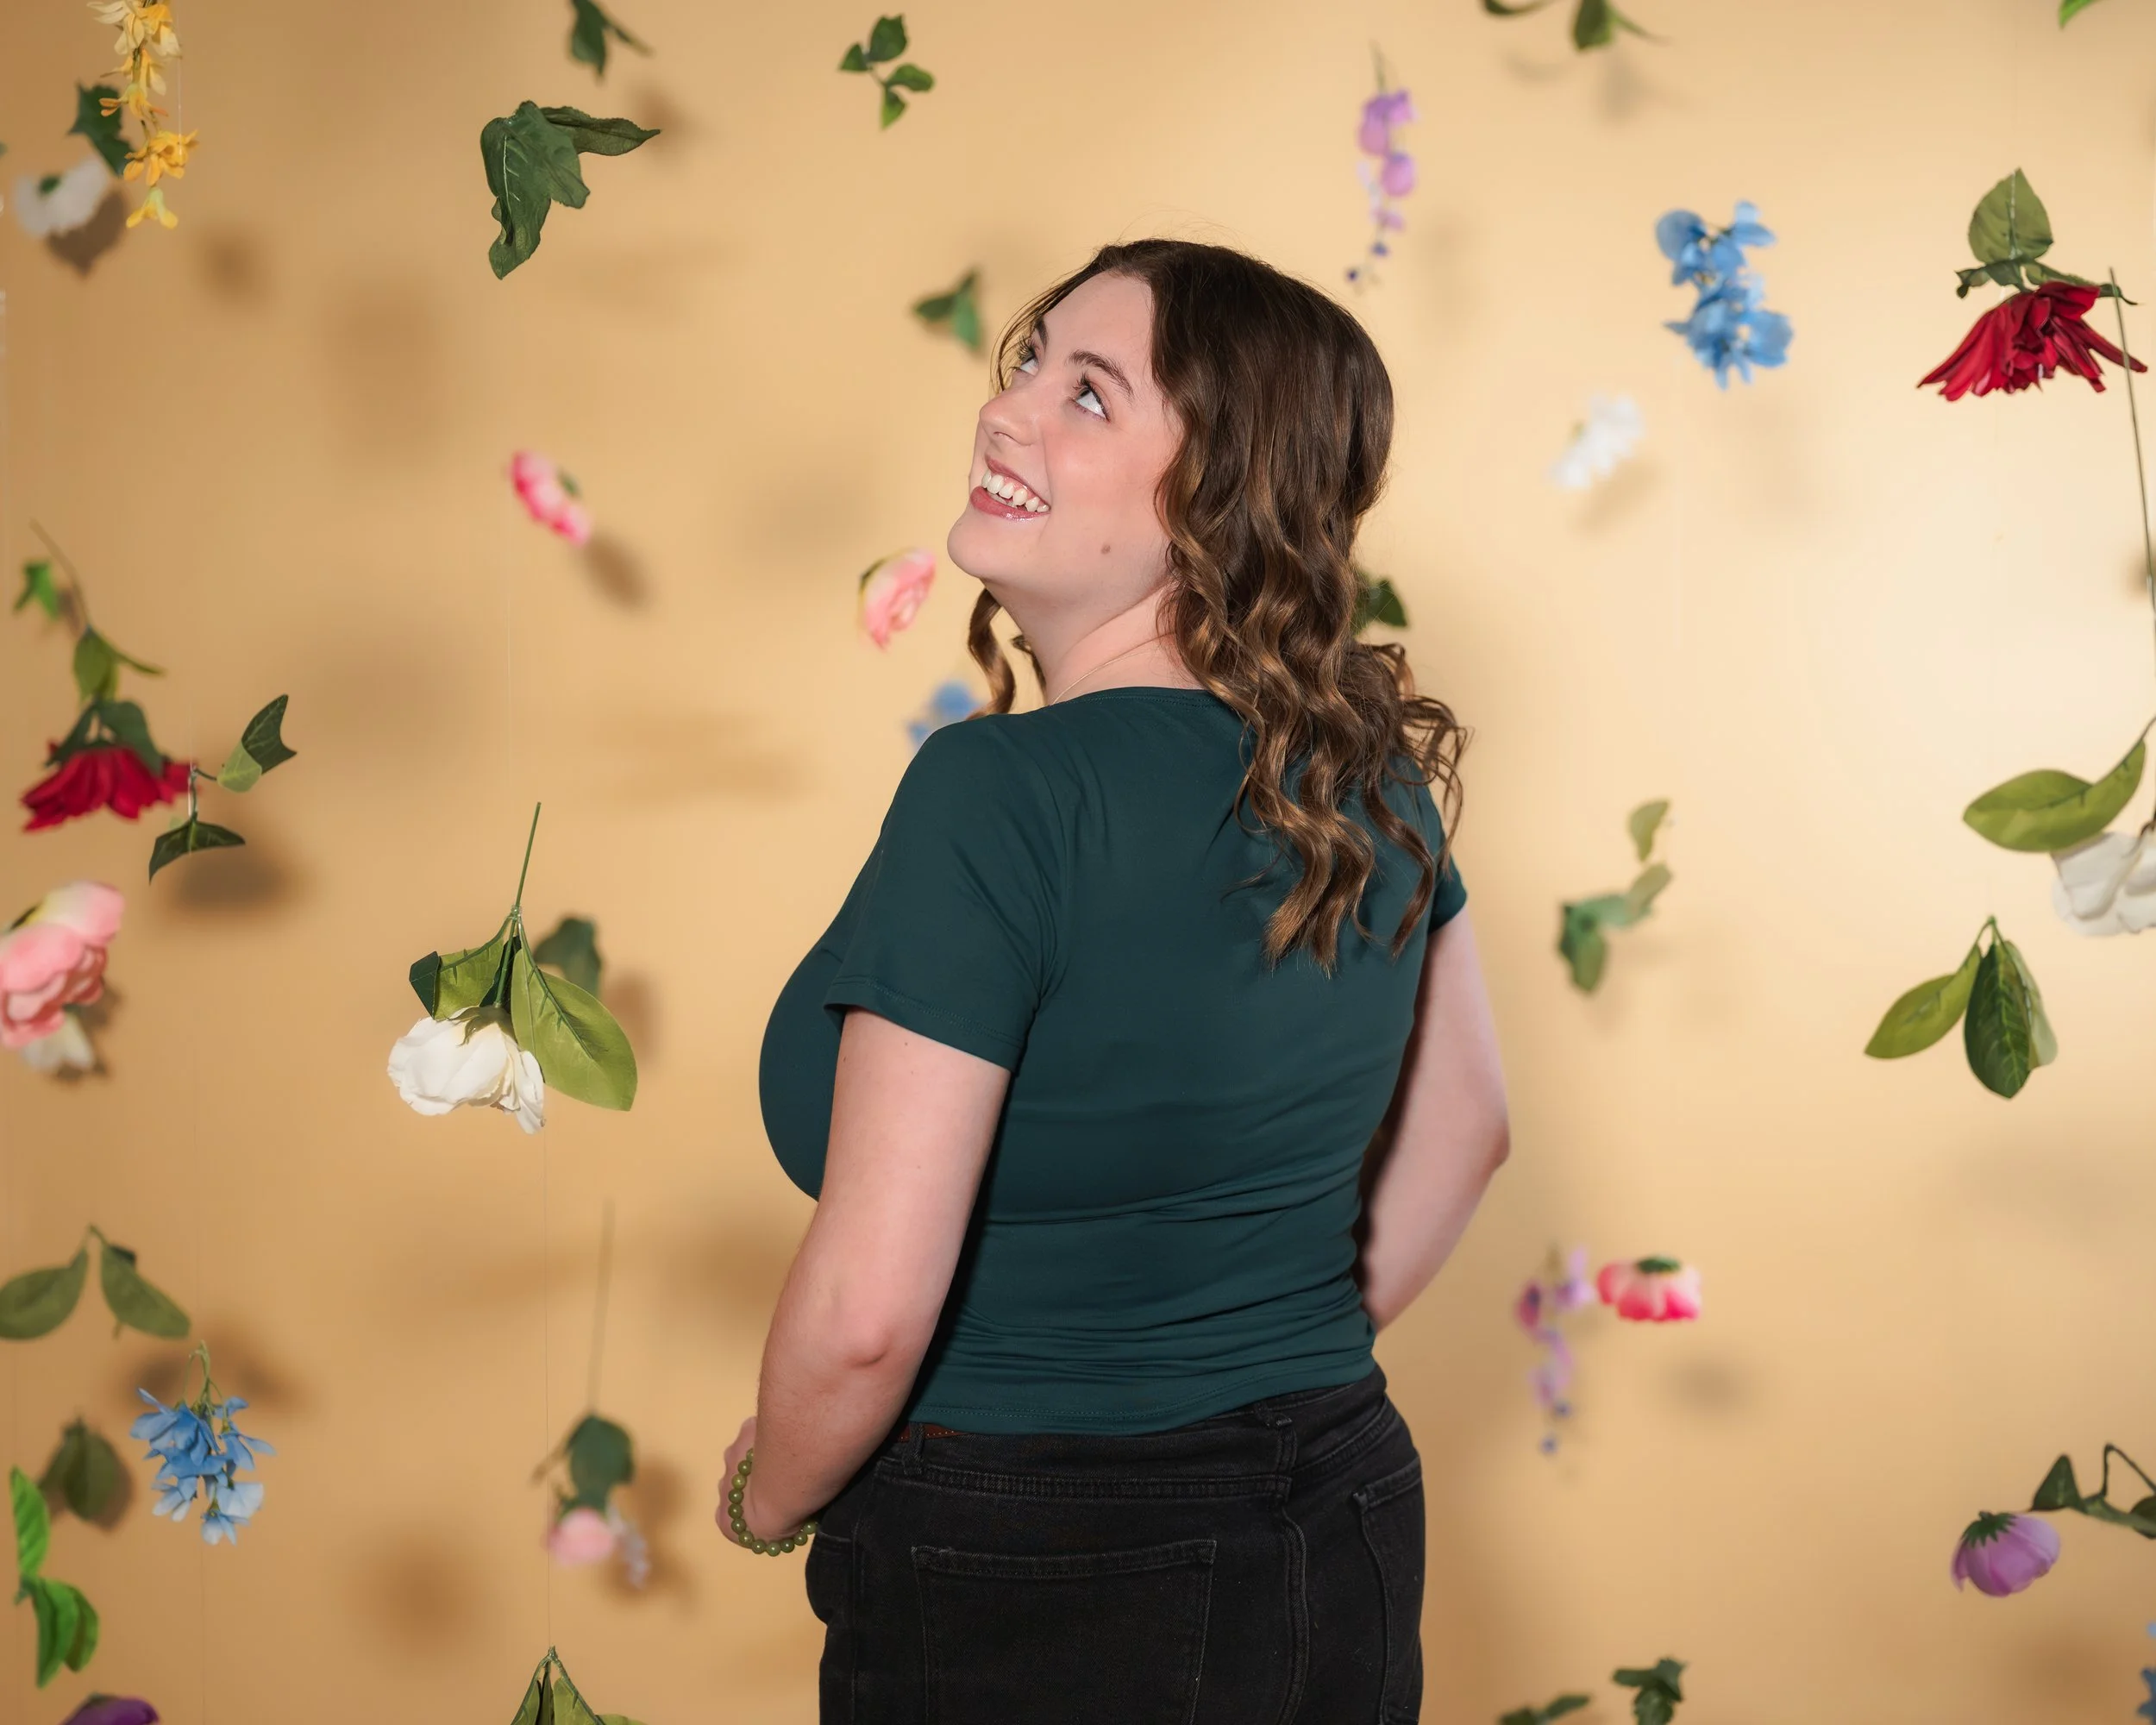
I had this bride come to me with this amazing idea for some spring-themed engagement photos. With all my weddings I offer a free engagement or family shoot to give us a chance to work together. This bride came to me with a great idea to do engagement pictures surrounded by hanging flowers. Thankfully I already had a bunch of fake flowers and set-up my home studio, so I was able to bring her vision to life!
After doing their shoot, I had all those hanging flowers. With this bride's permission, she let me use her idea to do Spring Flower Petites with them! Petites are just like minis, they are a short photo session for a cheaper price, I just gave them a different name to help make them stand out.
I advertised them on my photography Instagram, but once I announced they were open for signups no one hit me up to do them. Dude, it was literally crickets. Haha. God bless Facebook though. I shared these petites on FB Marketplace and in the selling groups and so many people were interested in them! I had 3 shoots this past Saturday and my week is filled with them.

I’m so pumped people signed up for these. It’s so embarrassing when you put a creative idea out there and no one signs up for it. It’s hard to not take it personally.
The setup for this shoot is in my home studio. I did a two-light setup for these shoots. One light (the key light) was in front of the families/couples and I had one pointed on the background of the paper (the fill light) to help with all the shadows from the key light. I’ve been using white background paper with the flowers hanging all over in front of it, but thankfully some people wanted to use colored background paper.
I didn't realize that I was almost out of white paper when I started advertising. Haha. One thing I’m learning with having a studio is that seamless paper gets so dirty! It probably doesn’t help that there is a bunch of dirt around the shop and that my studio is in my fiance's workshop.
I’m figuring out ways to keep the paper clean though. I tried spraying it with this latex finish which made it easier to wipe off some dirt, but it didn't fully keep the dirt off. Last night I spray painted the dirty spots with white spray paint so hopefully that helps make my white paper last until I get my next roll.


I love how the pictures have been turning out though! I hope you guys like the pictures too!

How to Prepare for a Photoshoot
How to prepare for your next photoshoot!
Welcome back to my blog! Today we’re talking about How to Prepare for a Photoshoot!
So you’ve booked a photoshoot and don’t know what to do next. First off, congratulations on booking a photoshoot and giving yourself the best gift you can. Having pictures taken of you or for you is the best thing you can do for yourself. Photos freeze moments in time so you can hold onto them forever.
But now what? How do you prepare for a shoot so you look and feel your best in your pictures? Let me give you some tips and tricks so your pictures look the best they can and you feel good doing the shoot!
Thankfully, preparing for a photoshoot is pretty easy and doesn’t take a whole lot of time. How you feel about yourself holds all the power for how the pictures will turn out. These are the tips I send my clients to help them feel the best about themsevles.


Start using moisturizer on your hands, face, and skin about a week before your shoot. Doing a face exfoliation at least once the week of your shoot wouldn’t hurt either. Mainly, you don’t want dry skin flakes popping up anywhere. Unless you have a skin condition and can’t really help it.
Using chapstick a week before your session helps a lot too, especially living in place like Montana where the climate is really dry. Lipstick and lip gloss doesn't look good on dry, cracking lips. It’s not always easy editng that stuff out.
When it comes to picking an outfit for your shoot, avoid wearing shirts/clothes that have a big or bold logo printed on them. Avoid outfits that have too many distracting patterns on them. Unless you’re doing a shoot that's styled with bright, neon colors, avoid wearing bright neon colors.
Pick an outfit that fits you well and makes you feel good and confident. I wouldn’t recommend going out and buying a new outfit unless you know it fits you well and makes you feel good. Try to get all the wrinkles out of your clothes. If you have a lint roller, use that at least once before you leave the house.
Make sure you wear colors that go well and compliment each other. You can pick colors that match the season you’re shooting in or colors that match the location of your session.
If you’re doing a boudoir or bikini style shoot, wear loosing fitting clothes to your shoot to prevent any clothes indents on your skin.
If you have the time, maybe try out how you want to do your hair and makeup for the shoot so you’ll know how long it’ll take you and make sure you like it. If you decide to get your hair and makeup done professionally for your shoot, schedule extra time for that just in case it takes longer than expected.
If you’re doing family photos with little kids, like toddlers age, make sure you pick a time to shoot for after their nap and they’ve had a snack. If a kid is cranky or not really feeling it, it’s hard to get them onboard with completing the shoot.
Bring snacks with you to the shoot so you have some motivation for the kids. One thing I’ve noticed with kids, they can usually handle a 30 minute shoot, at most 45 minute. After about 30 minutes kids are over it.
If you’re shooting with your puppers, try to either take them for a walk or run them before your shoot so they aren’t too hyper and spastic at your shoot. Pups tend to listen better after they’ve been exercised.
If you remember, try to bring treats, a squeaker or their favorite toy to the shoot to help them stay motivated or do what we’re wanting them to do.
You want to drink plenty of water the day before your shoot and the morning of. If you can, also try to get a good nights sleep to help prevent puffy eyes.
When you pull up to your shoot, take everything out of your pockets, especially any big, bulky items. If you have any hair ties on your wrist take them off, same with your Apple Watches. Unless your photographer said it’s fine to leave them on.
If you’re using any props, pick them out and set them aside the night before so you don’t have to waste time the day of getting them together.
The last thing I tell people is to stand in front of the mirror in your best superhero pose for about 30 seconds. You’d be surprised how doing something like this will make you feel good and confident with yourself. It empowers you in a way. If you’re still feeling a little nervous about the shoot, shake it out. Haha. I know it sounds silly, but jumping around and wiggling your body helps get nervous energy out of your body and helps give you happy energy.

Spring Colors

Summer Colors
If you’re doing a fun, creative shoot all these tips listed above will help you prepare for that. Make sure you have everything planned out at least a couple days before your shoot so you have plenty of time to prepare the shoot setup or gather props. If you’re doing your hair or makeup in a way you don’t normally do it, I’d recommend practicing your hair and makeup beforehand.
Make sure you and your photographer have completely communicated on every part of the shoot so you’re both on the same page. It can really put a damper on your shoot if you’re expecting the pictures to look a certain way, and the photographer is thinking something different for your photos.
There’s no such thing as over-communicating with your photographer, in my opinion. Yes, you’re hiring them for their style, skills, and talent, but at the end of the day, these are your photos. They should look how you want them to look. The only thing we can’t control at a shoot is the weather and lighting if you’re using natural light. But if you do all these other things I’ve mentioned, you’re photos should turn out well!
Some extra things you can do to feel extra ready for your shoot is check out some poses you might like on Pinterest or Google. Share them with your photographer so you guys are both on the same page with posing. The photographer will probably send or share some poses with you as well.
Bring some water or something to drink during your shoot. Some of the poses or prompts the photographer wants you to do can make you thirsty, especially if they’re wanting you to do moving propmpts or pick someone up and spin them around.

Fall Colors

Winter Colors
If you’re shooting at a location you’ve never been to, if you have the time go check it out so you know exactly where to go. If you don’t have the time to check it out, at least look up where it is online so you know how long it’ll take to get there. Maybe leave a little early to give yourself a buffer if there's traffic or if you guys need to make a quick stop.
Don’t be scared to ask the photographer to see the photos as you’re shoot is going on. It’ll help give you an idea of how the pictures are looking and it can give you a chance to tell the photographer if you’re liking what youre seeing or not.
It’ll save your photographer a lot of time with editing if you do these tips for your next photoshoot, which will get your gallery back to you faster.
I hope this helps you feel prepped and ready for your next photoshoot! If there are any tips or tricks you’ve done for a shoot that I’ve missed, please leave them in the comments!
Have a great day! ✨

Lights, Camera, Colors!
Hello again!
Thank you so much for checking out my other weekly blog post. Like I said in my first blog, I’ll be sharing two blogs a week, one post will be something about me, the life of a photographer, or the industry, and my other blog post will be about a shoot or wedding I’ve recently shot. Giving information about how the shoot went. As you can guess, this post is about a fun creative shoot I just recently did with my friend Cricket and her boyfriend.
With my fiancé being in the automotive work space, he gets connected or given some pretty sweet car/vehicle type stuff. One thing he was recently given from his work was a box truck. The truck itself doesn’t run, it was given to him with the motor in pieces, but the box part is perfectly fine. We have a flat bed truck already at home that we’re (and by ‘we’re’ I mean mainly him) going to switch the box to.
The plan was when we move to Hawaii we were going to fill the swapped box truck with our stuff and ship it over, but we recently learned that any car or vehicles shipped to Hawaii have to be empty, so that kinda threw a wrench in our plan. We’re still swapping the box over to the flat bed, but until then I’ve been using it for a few creative shoots! Why not use it while it’s just sitting there, right?


A few weeks ago my friend and her bf came out to help me turn the box truck into a colorful rave space to shoot in. We did a couple’s photoshoot and a portrait session. These two brought the space to life with their energy, what they wore, how they posed, and the creative lighting we used. I just loooove how their pictures turned out!
The first shoot was a ‘rave couple’ shoot, which is so fitting for this couple because they love EDM and going to shows locally. I feel like they go to a show almost every week, which hey good for them. For this look they wore these sweet, colorful jerseys her bf had. My friend wore lingerie under her jersey with these badass neon colored boots. Her bf wore shorts and sneakers. For the second half of this session, the couple put on these light-up masks which looked sooo cool! I finally got to use/test the colors of my LED light panels from _____ for this shoot! It was so much fun being able to play around with the light locations and different colors. The box has these panels on the roof that let the natural light in, so we had to cover that with a giant tarp so we could control the lights and see the colors better. We closed the door half way because we were worried we were going to get stuck in there. Haha.
The second concept was an individual, edgy/editorial portrait style shoot with colored lights. My friend changed her makeup and outfit to fit the vibe I had in mind. The setup was somewhat similar to the couples session with using the 2 colored lights, but I lined the walls and floor with thin plastic sheets to help give it a more creative look. I put one of the light panels in the back corner behind the plastic sheet and asked her bf to move the sheet around to give it movement and texture. The other light was in front of her, but off to the side. I kept moving it around while we were shooting. Her pictures turned out sooo fucking cool! It’s really cool having an idea in mind then seeing it come to life, and look even more amazing than I was expecting.
My friend that helped me with these shoots has been into modeling for a while which makes her amazing to work with! She knows how to move her body and use the space, it’s fantastic. We truly create magic every time we work together. She stood in front of the light and just did her thing and she rocked it. She was recently accepted into the Coco Rocha Modeling Camp in New York City! I’m so excited for her, her modeling journey, and to see where modeling will take her.
It’s so cool how something as simple as a empty box truck, some colored lights and amazing talent can create so much life and magic.